Understanding the installation process helps homeowners know what to expect from start to finish. A professional installation ensures safety, durability, and a perfect finish.
1. Site Inspection and Planning
The first step is a detailed inspection of the outdoor space. The installation team evaluates the backyard or patio area to determine the best placement for the pergola. Measurements are taken carefully to ensure proper fitting and alignment.
During this stage, homeowners can also choose design preferences such as size, height, color, and style of the pergola.
2. Design Selection and Customization
Once the site is evaluated, the next step is design selection. Alumawood pergolas offer multiple customization options depending on the homeowner’s needs.
Popular choices include:
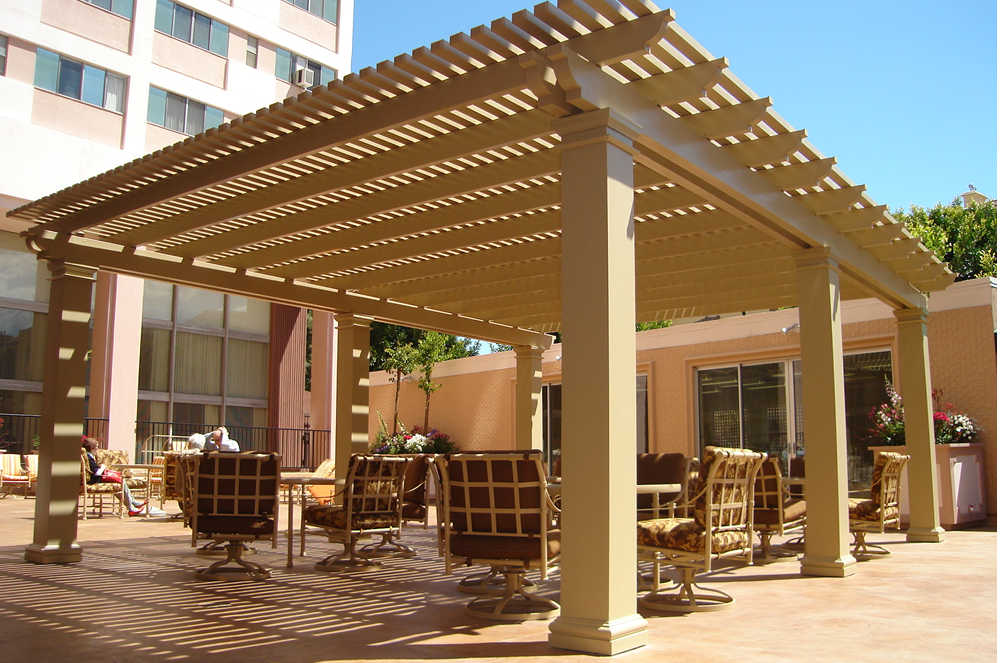
- Lattice pergolas for partial shade
- Solid roof pergolas for full shade
- Attached pergolas connected to the home
- Freestanding pergolas for open areas
This step ensures that the final design matches the home’s architecture and outdoor layout.
3. Foundation Preparation
A strong foundation is essential for long-term stability. The installation team prepares the ground by marking post locations and ensuring proper leveling. Concrete footings are often used to secure the structure firmly into place.
This step ensures the pergola remains stable even during strong winds or weather changes.
4. Frame Installation
After the foundation is ready, the main frame structure is installed. Aluminum posts and beams are carefully assembled according to the design plan. Each part is secured tightly to ensure structural strength and safety.
The wood-grain finish of Alumawood is carefully handled to maintain its clean and professional appearance during installation.
5. Roofing and Shade System Setup
Once the frame is complete, the roofing or lattice system is installed. This step determines how much shade and sunlight the pergola will provide.
Depending on the design, installers add:
- Solid panels for full shade
- Open beams for partial sunlight
- Insulated roofing options for heat reduction
This step completes the functional structure of the pergola.
6. Final Inspection and Finishing Touches
After installation is complete, a final inspection is conducted to ensure everything is properly aligned and securely installed. Any finishing adjustments are made to improve appearance and performance.
The area is then cleaned, and the pergola is ready for use.